-
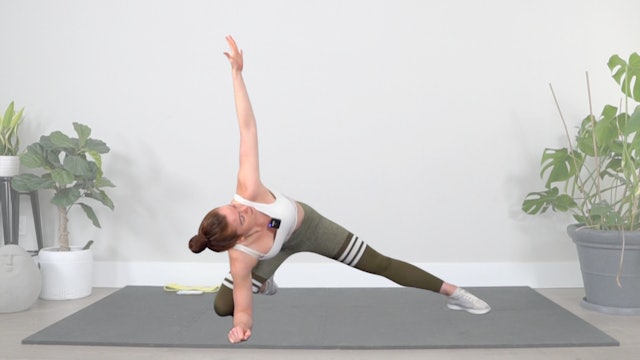
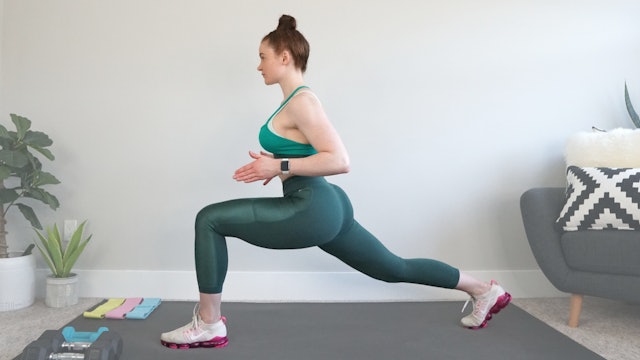
Full Body Recovery Flow
21m | Beginner
Works Well For:
Mobility & Flexibility | RecoveryEquipment Needed:
N/A -
Full Body Recovery Flow
21m | Intermediate
Works Well For:
Mobility & Flexibility | RecoveryEquipment Needed:
N/A -
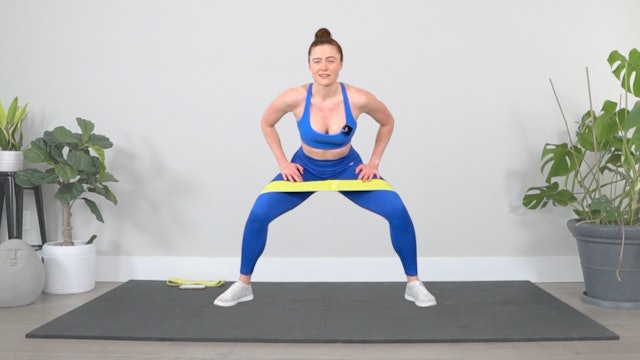
Sweaty Full Body MIIT
21m | Beginner
Works Well For:
Endurance | Speed & Agility | Fat Burning | Weight LossEquipment Needed:
Team Bands (optional) -
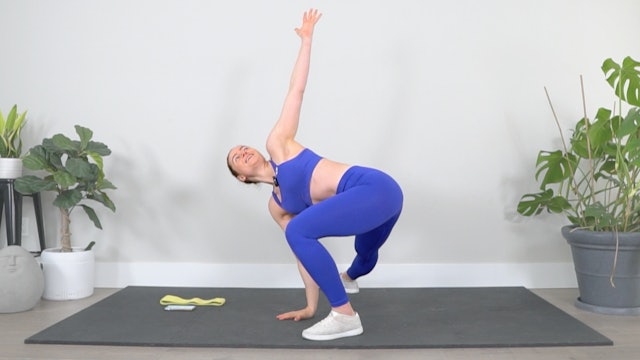
Drop It Like A Squat MIIT
21m | Beginner
Works Well For:
Endurance | Speed & Agility | Fat Burning | Weight LossEquipment Needed:
Team Bands (optional) -
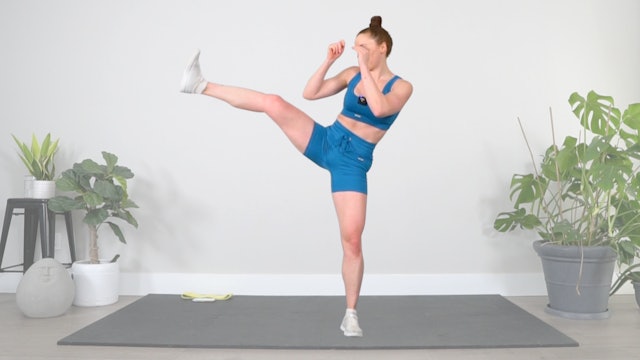
Kickboxing Bootcamp MIIT
21m | Beginner
Works Well For:
Endurance | Speed & Agility | Fat Burning | Weight LossEquipment Needed:
Team Bands (optional) -
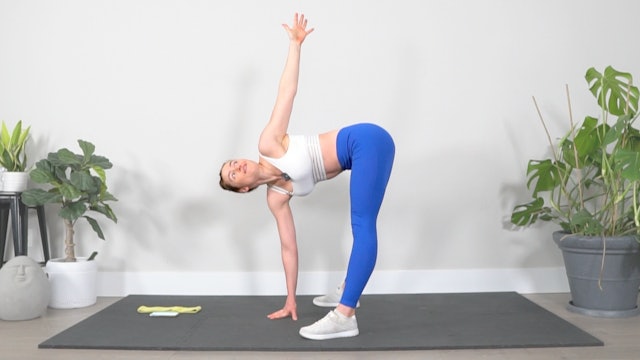
Speedy Full Body MIIT
25m | Beginner
Works Well For:
Endurance | Speed & Agility | Fat Burning | Weight LossEquipment Needed:
Team Bands (optional) -
Drop It Like A Squat MIIT (pt2)
25m | Beginner
Works Well For:
Endurance | Speed & Agility | Fat Burning | Weight LossEquipment Needed:
Team Bands (optional) -
Kickboxing Bootcamp MIIT (pt2)
25m | Intermediate
Works Well For:
Endurance | Speed & Agility | Fat Burning | Weight LossEquipment Needed:
Team Bands (optional) -
Functional Full Body MIIT
30m | Intermediate
Works Well For:
Endurance | Speed & Agility | Fat Burning | Weight LossEquipment Needed:
Team Bands (optional) -
Rock The Plank MIIT
31m | Intermediate
Works Well For:
Endurance | Speed & Agility | Fat Burning | Weight LossEquipment Needed:
Team Bands (optional) -
Fight Ready Full Body MIIT
32m | Intermediate
Works Well For:
Endurance | Speed & Agility | Fat Burning | Weight LossEquipment Needed:
Team Bands (optional) -
Crawl To The Finish MIIT
35m | Intermediate
Works Well For:
Endurance | Speed & Agility | Fat Burning | Weight LossEquipment Needed:
Team Bands (optional) -
Burpee Buildup MIIT
36m | Intermediate
Works Well For:
Endurance | Speed & Agility | Fat Burning | Weight LossEquipment Needed:
Team Bands (optional) -
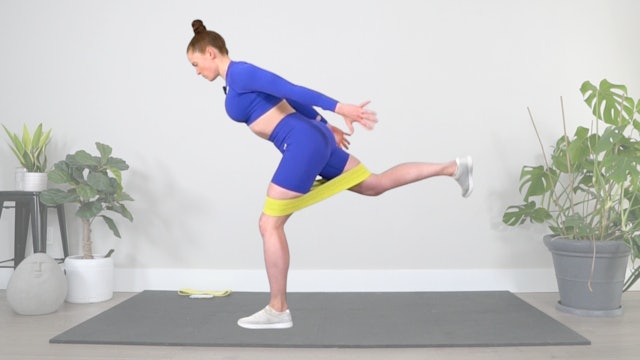
Glute Getter MIIT
35m | Intermediate
Works Well For:
Endurance | Speed & Agility | Fat Burning | Weight LossEquipment Needed:
Team Bands (optional) -
Slowdown Cooldown
10m | Beginner
Works Well For:
Mobility & Flexibility | RecoveryEquipment Needed:
N/A -
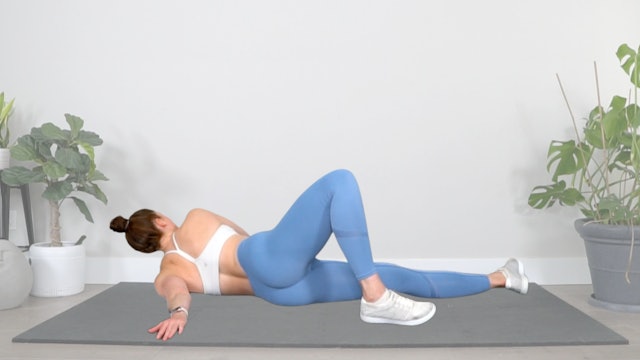
Full Body Stability Sculpt
21m | Beginner
Works Well For:
Stability & Balance | Knee Stability | Ankle Stability | Ankle MobilityEquipment Needed:
N/A -
Quickie Mobility
12m | Beginner
Works Well For:
Mobility & Flexibility | RecoveryEquipment Needed:
N/A -
Cooldown Recovery Flow
14m | Beginner
Works Well For:
Mobility & Flexibility | RecoveryEquipment Needed:
N/A -
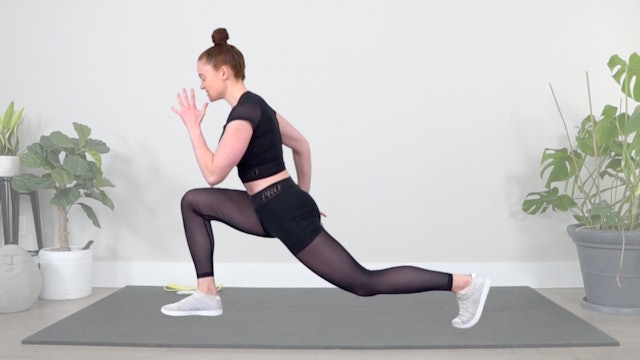
Day 1: Full Body Strength
31m | Beginner
Plan:
Full Body FoundationsBuild strength with less weight. Progress from tried-and-true compound exercises to new, more difficult variations. These workouts are all about tempo, technique, and increasing the technical difficulty week-to-week.
Works Well For:
Strength Training ... -
Day 3: Full Body Conditioning
26m | Beginner
Plan:
Full Body FoundationsTap into every energy system with these fast-paced, resistance-based workouts. Burn fat, not muscle by combining the best resistance, cardio, and core moves for an epic burn that will blast fat, boost metabolism, and max out your muscles. Each week we’...
-
Full Body Burner
26m | Beginner
Plan:
Full Body FoundationsTo finish the week strong, we’re pairing science-backed strategies with team-tested techniques to take your muscles beyond failure for a super-targeted pump that will have you feeling the burn well beyond the final bell.
Works Well For:
Muscle Buildin... -
Day 8: Full Body Strength
30m | Beginner
Plan:
Full Body FoundationsBuild strength with less weight. Progress from tried-and-true compound exercises to new, more difficult variations. These workouts are all about tempo, technique, and increasing the technical difficulty week-to-week.
Works Well For:
Strength Training ... -
Day 10: Full Body Conditioning
25m | Beginner
Plan:
Full Body FoundationsTap into every energy system with these fast-paced, resistance-based workouts. Burn fat, not muscle by combining the best resistance, cardio, and core moves for an epic burn that will blast fat, boost metabolism, and max out your muscles. Each week we’...
-
Day 12: Full Body Burner
26m | Beginner
Plan:
Full Body FoundationsTo finish the week strong, we’re pairing science-backed strategies with team-tested techniques to take your muscles beyond failure for a super-targeted pump that will have you feeling the burn well beyond the final bell.
Works Well For:
Muscle Buildin...