-
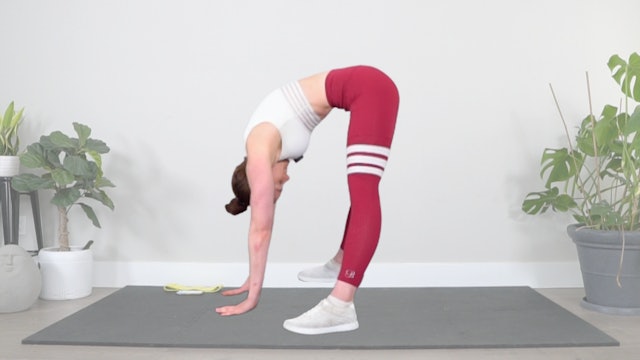
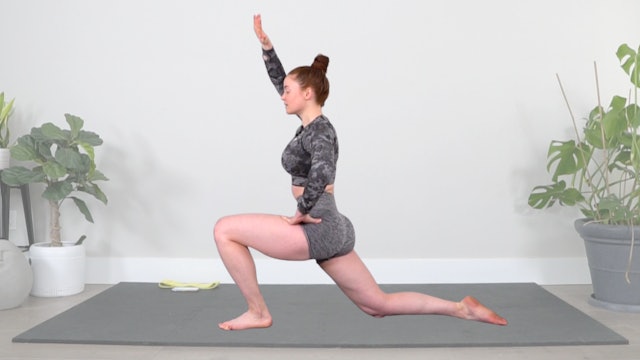
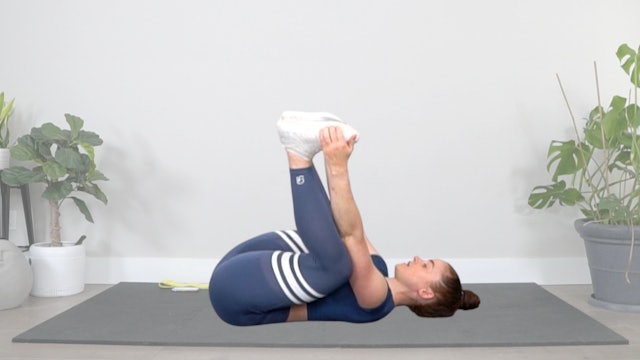
Athlete Mobility: Upper Body
16m | Advanced
Works Well For:
Mobility & Flexibility | Shoulder Mobility | Thoracic Spine Mobility | RecoveryEquipment Needed:
N/A -
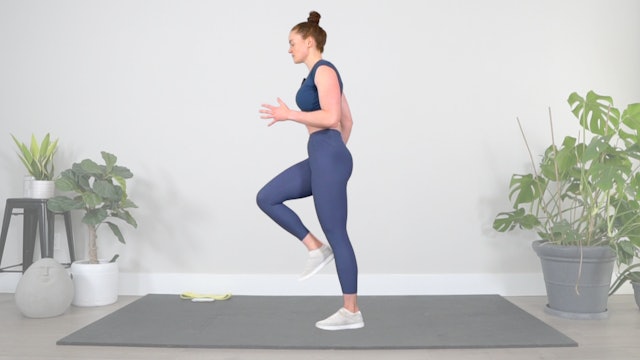
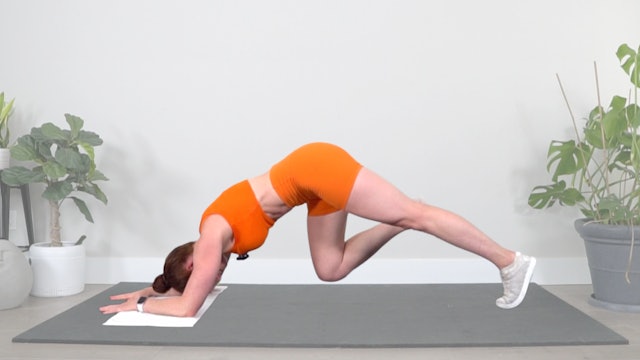
Full Body Speed
23m | Advanced
Plan:
Full Body EliteWorks Well For:
Speed & Agility | Endurance | Abs & Core | Fat BurningEquipment Needed:
Team Bands (optional) -
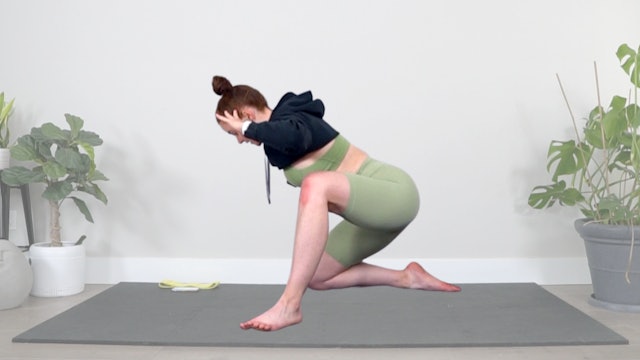
Athlete Mobility: Lower Body
17m | Advanced
Works Well For:
Mobility & Flexibility | Hip Mobility | RecoveryEquipment Needed:
N/A -
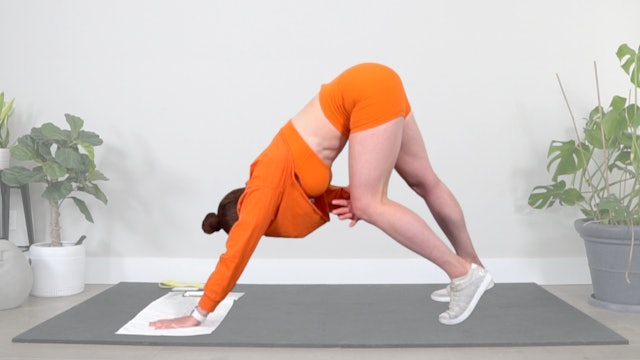
Full Body Speed
22m | Advanced
Plan:
Full Body EliteWorks Well For:
Speed & Agility | Endurance | Abs & Core | Fat BurningEquipment Needed:
Team Bands (optional) -
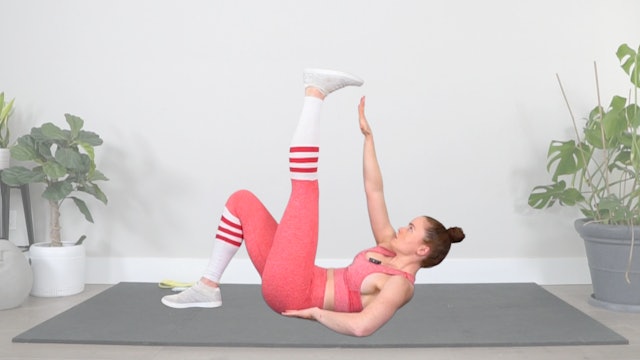
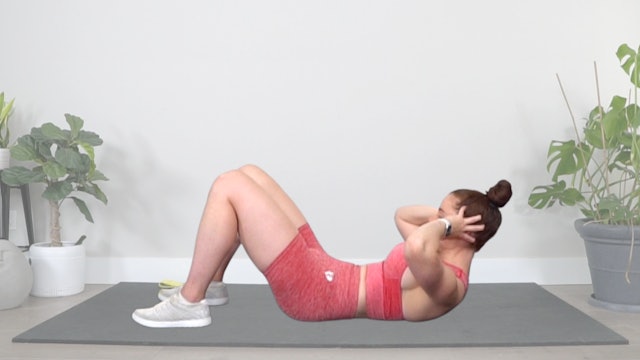
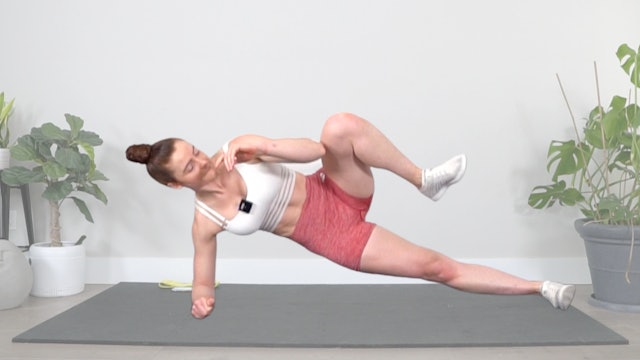
Athlete Abs
16m | Advanced
Works Well For:
Abs & Core | Pelvic Floor | Strength Training | Stability & BalanceEquipment Needed:
Team Bands (optional) -
Day 24: Full Body Speed
22m | Advanced
Plan:
Full Body EliteWorks Well For:
Speed & Agility | Endurance | Abs & Core | Fat BurningEquipment Needed:
Team Bands (optional) -
Kickboxing Bootcamp MIIT
21m | Beginner
Works Well For:
Endurance | Speed & Agility | Fat Burning | Weight LossEquipment Needed:
Team Bands (optional) -
Sweaty Full Body MIIT
21m | Beginner
Works Well For:
Endurance | Speed & Agility | Fat Burning | Weight LossEquipment Needed:
Team Bands (optional) -
Drop It Like A Squat MIIT
21m | Beginner
Works Well For:
Endurance | Speed & Agility | Fat Burning | Weight LossEquipment Needed:
Team Bands (optional) -
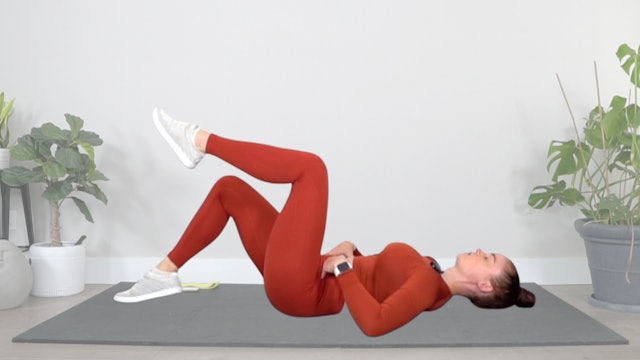
Mini Stability: Knees & Hips
12m | Intermediate
Works Well For:
Abs & Core | Stability & Balance | Hip Stability | Knee StabilityEquipment Needed:
N/A -
Rock The Plank MIIT
31m | Intermediate
Works Well For:
Endurance | Speed & Agility | Fat Burning | Weight LossEquipment Needed:
Team Bands (optional) -
Functional Full Body MIIT
30m | Intermediate
Works Well For:
Endurance | Speed & Agility | Fat Burning | Weight LossEquipment Needed:
Team Bands (optional) -
Cardio Core
23m | Beginner
Works Well For:
Abs & Core | Endurance | Fat Burning | Weight LossEquipment Needed:
N/A -
Quickie Core
11m | Beginner
Works Well For:
Abs & Core | Pelvic Floor | Strength Training | Stability & BalanceEquipment Needed:
N/A -
Foundations of Form: Crunch & March
11m | Beginner
Works Well For:
Abs & Core | Pelvic Floor | Strength Training | Stability & BalanceEquipment Needed:
N/A -
Foundations of Form: Breathe & Bridge
12m | Beginner
Works Well For:
Abs & Core | Pelvic Floor | Strength Training | Stability & BalanceEquipment Needed:
N/A -
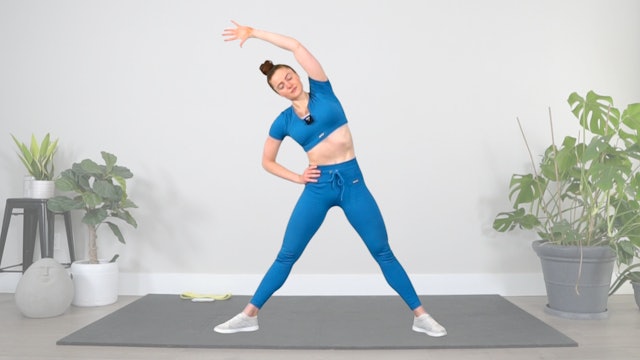
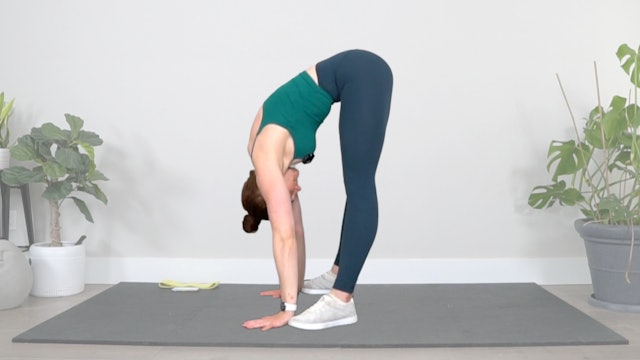
Quickie Mobility
12m | Beginner
Works Well For:
Mobility & Flexibility | RecoveryEquipment Needed:
N/A -
Cooldown Recovery Flow
14m | Beginner
Works Well For:
Mobility & Flexibility | RecoveryEquipment Needed:
N/A -
Fusion Flow
22m | Intermediate
Works Well For:
Abs & Core | Pelvic Floor | Stability & Balance | Mobility & FlexibilityEquipment Needed:
N/A -
Slowdown Cooldown
11m | Intermediate
Works Well For:
Mobility & Flexibility | RecoveryEquipment Needed:
N/A -
Breathe & Burn Quickie Core
10m | Beginner
Works Well For:
Abs & Core | Pelvic Floor | Strength Training | Stability & BalanceEquipment Needed:
N/A -
Breathe & Burn Quickie Core
12m | Intermediate
Works Well For:
Abs & Core | Pelvic Floor | Strength Training | Stability & BalanceEquipment Needed:
N/A -
Full Body Recovery Flow
21m | Beginner
Works Well For:
Mobility & Flexibility | RecoveryEquipment Needed:
N/A -
Athlete Abs
12m | Advanced
Works Well For:
Abs & Core | Pelvic Floor | Strength Training | Stability & BalanceEquipment Needed:
Team Bands (optional)