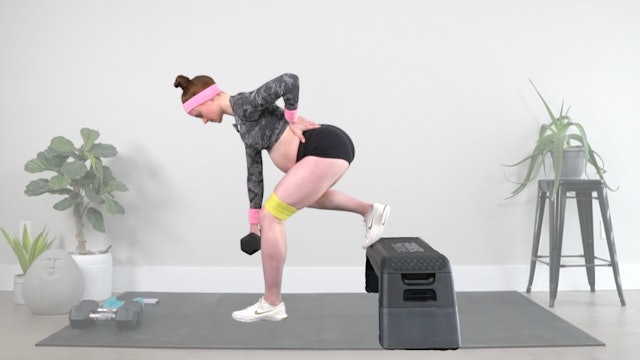
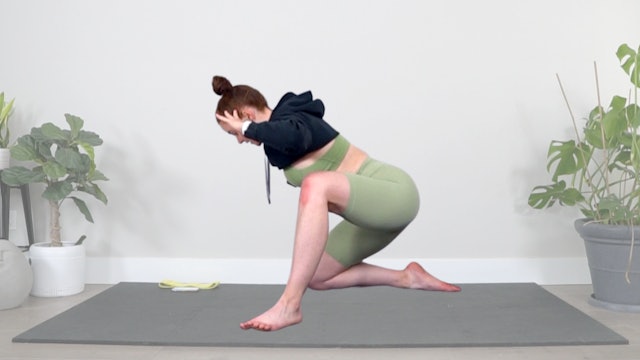
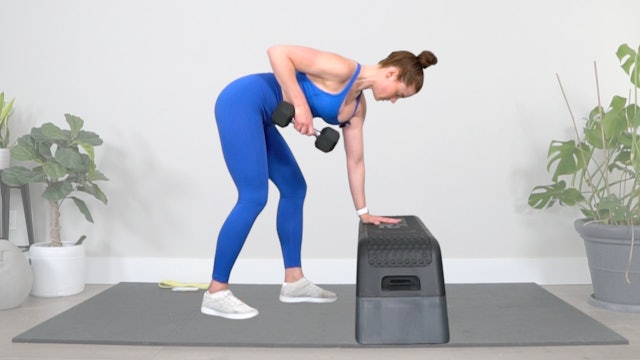
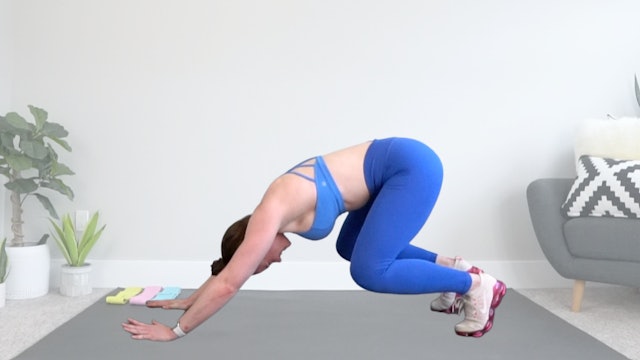
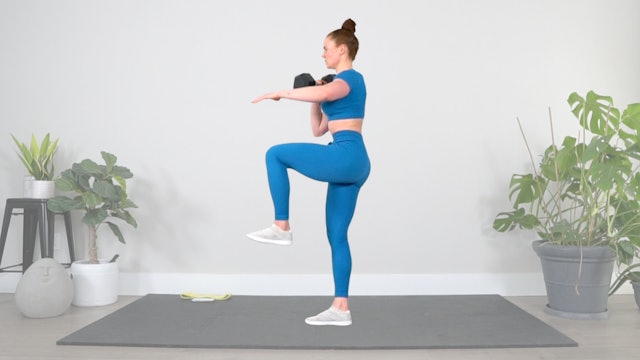
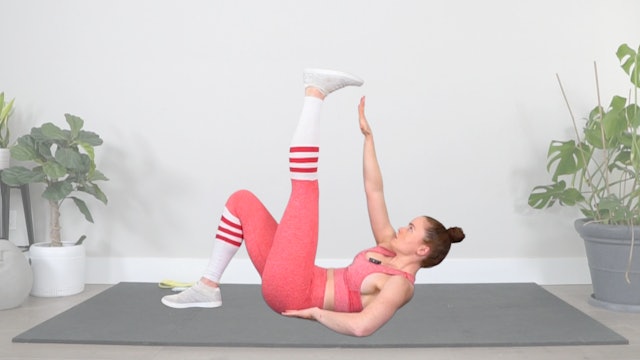
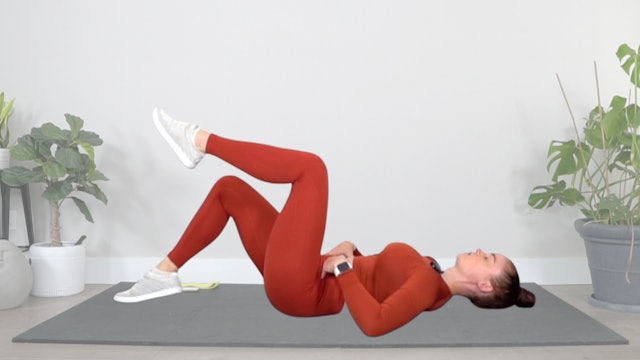
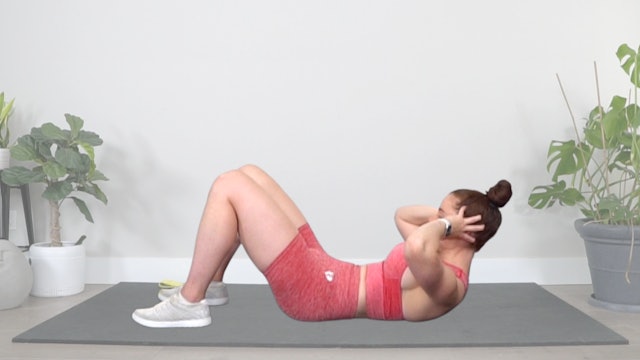
LOW IMPACT
Work with your body with low impact workouts designed for every intensity and style training.
These workouts include no jumping, gentler-on-your-joints movements so you can keep it moving pain-free.
-
Sore Body Mobility
30m | Beginner
Works Well For:
Mobility & Flexibility | RecoveryEquipment Needed:
N/A -
Freedom Flow Mobility
23m | Beginner
Works Well For:
Mobility & Flexibility | RecoveryEquipment Needed:
N/A -
Function of Fit Full Body
41m | Beginner to Intermediate
Works Well For:
Strength Training | Muscle Building | Stability & Balance | Abs & CoreEquipment Needed:
Light dumbbells (5-10 lbs), Heavy dumbbells (15-30 lbs), Team Bands, Box -
Short & Sweet Side Body Sculpt
17m | Beginner to Intermediate
Works Well For:
Strength Training | Abs & Core | Pelvic FloorEquipment Needed:
N/A -
Busy Body Pilates
44m | Intermediate
Works Well For:
Strength Training | Muscle Building | Abs & Core | Stability & BalanceEquipment Needed:
Light dumbbells (0-10 lbs) -
Shake Your Booty Pilates
28m | Intermediate
Works Well For:
Muscle Building | Stability & Balance | Abs & CoreEquipment Needed:
Team Bands -
All Out All Over Pilates
40m | Intermediate to Advanced
Works Well For:
Strength Training | Muscle Building | Abs & Core | Stability & BalanceEquipment Needed:
Light dumbbells (0-10 lbs) -
Functional Full Body Strength
39m | Beginner to Intermediate
Works Well For:
Strength Training | Muscle Building | Stability & Balance | Abs & CoreEquipment Needed:
Light dumbbells (5-10 lbs), Heavy dumbbells (15-30 lbs), Box -
Keep It Moving Mobility
26m | Intermediate
Works Well For:
Mobility & Flexibility | RecoveryEquipment Needed:
N/A -
Power Peach Pilates
18m | Intermediate
Works Well For:
Muscle Building | Stability & Balance | Abs & CoreEquipment Needed:
Team Bands -
Full Body Stability Sculpt
22m | Intermediate
Works Well For:
Stability & Balance | Abs & CoreEquipment Needed:
N/A -
Athlete Abs
16m | Advanced
Works Well For:
Abs & Core | Pelvic Floor | Strength Training | Stability & BalanceEquipment Needed:
Team Bands (optional) -
Full Body Burn
23m | Intermediate
Works Well For:
Muscle Building | Fat Burning | Metabolic Conditioning | Endurance | Abs & CoreEquipment Needed:
Light dumbbells (5-10 lbs), Heavy dumbbells (15-30 lbs), Team Bands (optional) -
Fusion Flow
22m | Intermediate
Works Well For:
Abs & Core | Pelvic Floor | Stability & Balance | Mobility & FlexibilityEquipment Needed:
N/A -
Mini Stability: Knees & Hips
12m | Intermediate
Works Well For:
Abs & Core | Stability & Balance | Hip Stability | Knee StabilityEquipment Needed:
N/A -
Full Body Strength
30m | Advanced
Plan:
Full Body EliteWorks Well For:
Strength Training | Muscle Building | Stability & BalanceEquipment Needed:
Light dumbbells (5-10 lbs), Heavy dumbbells (15-30 lbs), Team Bands (optional) -
Core Complex: Abs & Arms
11m | Intermediate
Works Well For:
Abs & Core | Pelvic Floor | Strength Training | Stability & BalanceEquipment Needed:
N/A -
Full Body Strength
31m | Advanced
Plan:
Full Body EliteWorks Well For:
Strength Training | Muscle Building | Stability & BalanceEquipment Needed:
Light dumbbells (5-10 lbs), Heavy dumbbells (15-30 lbs), Team Bands (optional) -
Quickie Core
11m | Beginner
Works Well For:
Abs & Core | Pelvic Floor | Strength Training | Stability & BalanceEquipment Needed:
N/A -
Foundations of Form: Crunch & March
11m | Beginner
Works Well For:
Abs & Core | Pelvic Floor | Strength Training | Stability & BalanceEquipment Needed:
N/A -
Foundations of Form: Breathe & Bridge
12m | Beginner
Works Well For:
Abs & Core | Pelvic Floor | Strength Training | Stability & BalanceEquipment Needed:
N/A -
Quickie Mobility
12m | Beginner
Works Well For:
Mobility & Flexibility | RecoveryEquipment Needed:
N/A -
Cooldown Recovery Flow
14m | Beginner
Works Well For:
Mobility & Flexibility | RecoveryEquipment Needed:
N/A -
Slowdown Cooldown
11m | Intermediate
Works Well For:
Mobility & Flexibility | RecoveryEquipment Needed:
N/A