-
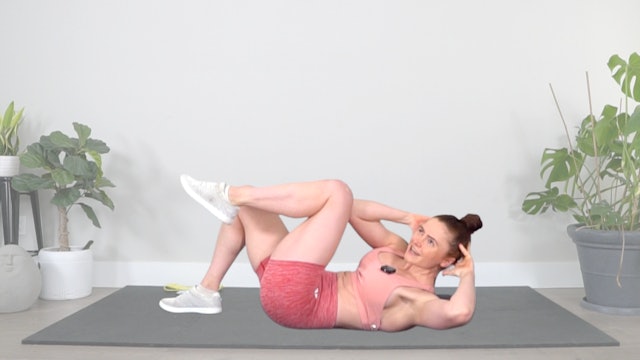
Functional Core With Weights
22m | Advanced
Works Well For:
Abs & Core | Pelvic Floor | Strength Training | Stability & BalanceEquipment Needed:
Light dumbbells (5-10 lbs), Team Bands (optional) -
Fusion Flow
22m | Intermediate
Works Well For:
Abs & Core | Pelvic Floor | Stability & Balance | Mobility & FlexibilityEquipment Needed:
N/A -
Full Body Recovery Flow
21m | Beginner
Works Well For:
Mobility & Flexibility | RecoveryEquipment Needed:
N/A -
Speedy Full Body MIIT
25m | Beginner
Works Well For:
Endurance | Speed & Agility | Fat Burning | Weight LossEquipment Needed:
Team Bands (optional) -
Burpee Buildup MIIT
36m | Intermediate
Works Well For:
Endurance | Speed & Agility | Fat Burning | Weight LossEquipment Needed:
Team Bands (optional) -
Drop It Like A Squat MIIT (pt2)
25m | Beginner
Works Well For:
Endurance | Speed & Agility | Fat Burning | Weight LossEquipment Needed:
Team Bands (optional) -
Kickboxing Bootcamp MIIT (pt2)
25m | Intermediate
Works Well For:
Endurance | Speed & Agility | Fat Burning | Weight LossEquipment Needed:
Team Bands (optional) -
Full Body Recovery Flow
21m | Intermediate
Works Well For:
Mobility & Flexibility | RecoveryEquipment Needed:
N/A -
Cardio Core
27m | Intermediate
Works Well For:
Abs & Core | Endurance | Fat Burning | Weight LossEquipment Needed:
N/A -
Glute Getter MIIT
35m | Intermediate
Works Well For:
Endurance | Speed & Agility | Fat Burning | Weight LossEquipment Needed:
Team Bands (optional) -
Crawl To The Finish MIIT
35m | Intermediate
Works Well For:
Endurance | Speed & Agility | Fat Burning | Weight LossEquipment Needed:
Team Bands (optional) -
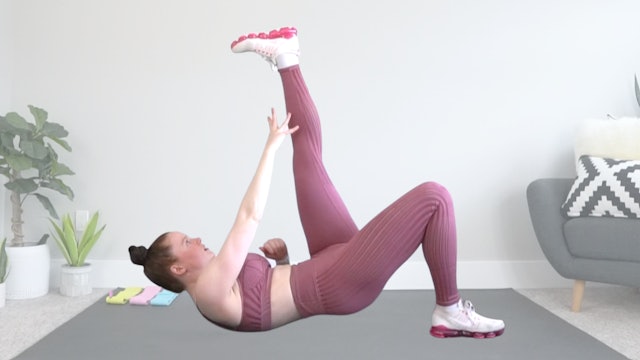
Quickie Core
11m | Intermediate
Works Well For:
Abs & Core | Pelvic Floor | Strength Training | Stability & BalanceEquipment Needed:
N/A -
Full Body Warm Up
10m | Beginner
Works Well For:
Mobility & Flexibility | RecoveryEquipment Needed:
N/A -
Full Body Mobility & Stretch
20m | Intermediate
Works Well For:
Mobility & Flexibility | RecoveryEquipment Needed:
N/A -
Quickie Core: Abs & Glutes
10m | Intermediate
Works Well For:
Abs & Core | Pelvic Floor | Strength Training | Stability & BalanceEquipment Needed:
N/A -
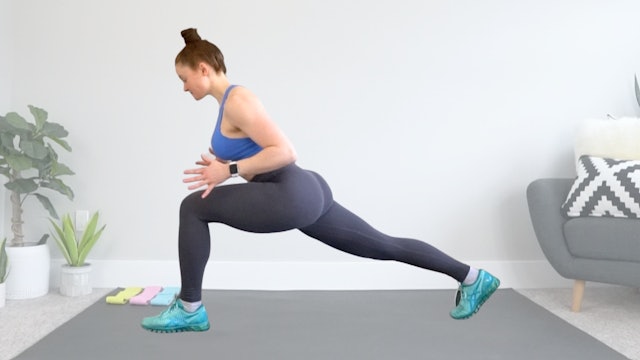
Functional Core
22m | Intermediate
Works Well For:
Abs & Core | Pelvic Floor | Strength Training | Stability & BalanceEquipment Needed:
N/A -
5 Min Glute Band Activation Warm Up
5m | Beginner
Works Well For:
Strength Training | Muscle Building | Stability & BalanceEquipment Needed:
Team Bands -
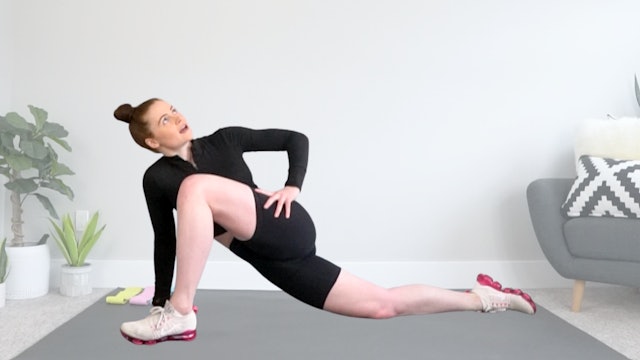
Low Back & Hip Recovery Flow
21m | Intermediate
Works Well For:
Mobility & Flexibility | RecoveryEquipment Needed:
N/A -
Full Body Flow
17m | Intermediate
Works Well For:
Mobility & Flexibility | RecoveryEquipment Needed:
N/A -
Full Body Mobility Flow
26m | Intermediate
Works Well For:
Mobility & Flexibility | RecoveryEquipment Needed:
N/A -
Core Complex: Abs & Arms
11m | Intermediate
Works Well For:
Abs & Core | Pelvic Floor | Strength Training | Stability & BalanceEquipment Needed:
N/A -
10 Min Glute Band Burnout Workout
10m | Intermediate
Use bands to take your booty beyond failure for a super-targeted pump that will have you feeling the burn well beyond the final bell.
Works Well For:
Muscle Building | EnduranceEquipment Needed:
Team Bands, Box or Bench -
Fight Ready Full Body MIIT
32m | Intermediate
Works Well For:
Endurance | Speed & Agility | Fat Burning | Weight LossEquipment Needed:
Team Bands (optional) -
Slowdown Cooldown
10m | Beginner
Works Well For:
Mobility & Flexibility | RecoveryEquipment Needed:
N/A